

I'm not sure on what I will cover, but my idea is to give you the basics to writing your own install for your program. Things such as asking questions, if then's, copying files, the basics.... Maybe I'll pick a simple program off Aminet that needs and install, and give the steps needed to complete one.
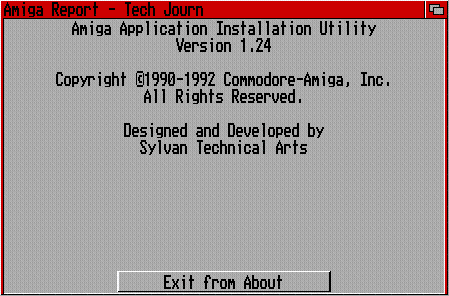
Around the beginning of 1992 Commodore started to look into this problem. They ended up with a programming/scripting language that was based on LISP. The language is not that hard to use, you just have to get use to the large about of "(" and ")" that you must use. I'm not sure on what percentage Commodore actually programmed, but if you do an "About..." when you first run an install script you get:
This allowed programmers , and their companies, to give the end-users an install that would look and feel the same from one application to the next. In return giving the program a more overall "professional" presentation along with the end-user not having to relearn a new Installer.
The following is a list of Tool Types that you can use for the Installer with example uses.
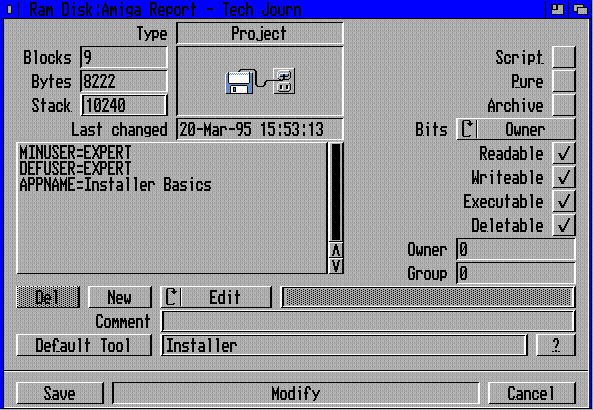
Most of the installers I do are for AmiTCP/AS225/TIA/Mlink programs. Therefore the NOVICE & AVERAGE users don't really apply. I try to write the install to be as straight forward as possible, to avoid having 3 levels of users. I normally use only the APPNAME, MINUSER and DEFUSER. I let the end-user set the rest (within the installer) when they run the installer script.
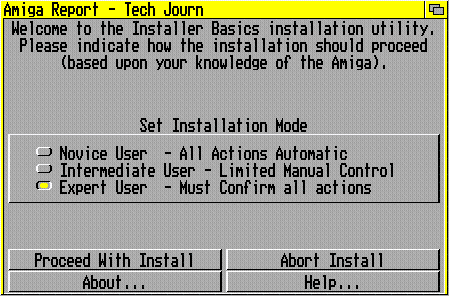
APPNAME  [APPNAME=Installer Basics]
         This is used too set the Program Name that you are installing.
         You must set this! It will show up in the opening window when
         the Installer is run. "Welcome to the Installer Basics installation utility."

MINUSER  [MINUSER=EXPERT]
         There are 3 options you can set MINUSER to: NOVICE, AVERAGE, EXPERT.
         I don't use these to much but you can set MINUSER to a setting and then
         within the installer script check these and act on them.

DEFUSER  [DEFUSER=EXPERT]
         If you set MINUSER to NOVICE or AVERAGE then you can set DEFUSER
         (Default user) to what you think would be the most common lever of
         user for your program.

NOPRINT  [NOPRINT=FALSE]
         If NOPRINT is set to FALSE, then the "Printer" option will be marked out.
         (This does not work on some versions of the installer.)

PRETEND  [PRETEND=FALSE]
         If PRETEND is set to FALSE, then the "PRETEND" option will be marked out.

LANGUAGE [LANGUAGE=german]
         This is very useful when you are doing an installer for more then one
         language. You can have many different icons (one for English, German, ect..)
         Then within the installer script you can check the variable "@language"
         and then use the correct language in the installer. "english" is the default.

LOGFILE  [LOGFILE=RAM:LOG.txt]
         This is where you can tell the Installer the name and where to put the log file
         if the end-user wants one created. "install_log_file" is the deafult.

LOG      [LOG=FALSE]
         If the user picks the NOVICE mode (and you let them pick it) the default is to
         create a log. If you have LOG set to FALSE then it will not create the log in
         NOVICE mode.

SCRIPT   [SCRIPT=scripts/english]
         If the installer script is located in a different directory or is named different
         than the ".info" file, you can use the SCRIPT var to tell the installer what script
         to use. This is nice if you have many scripts and you don't store them in the root
         dir.
As with all ToolType encasing them in "( )" will trun them off, this is useful for testing.
(ie "(LOGFILE=RAM:LOG.txt)" )Well that is about if for now ... hoped you learned something!
If you wish to reprint this, all you have to do is ask. Also if you have any questions, please let me know! I can be reached at rcr@netcom.com